STUDIO E: BOOMHOUSE
BOOMHOUSE
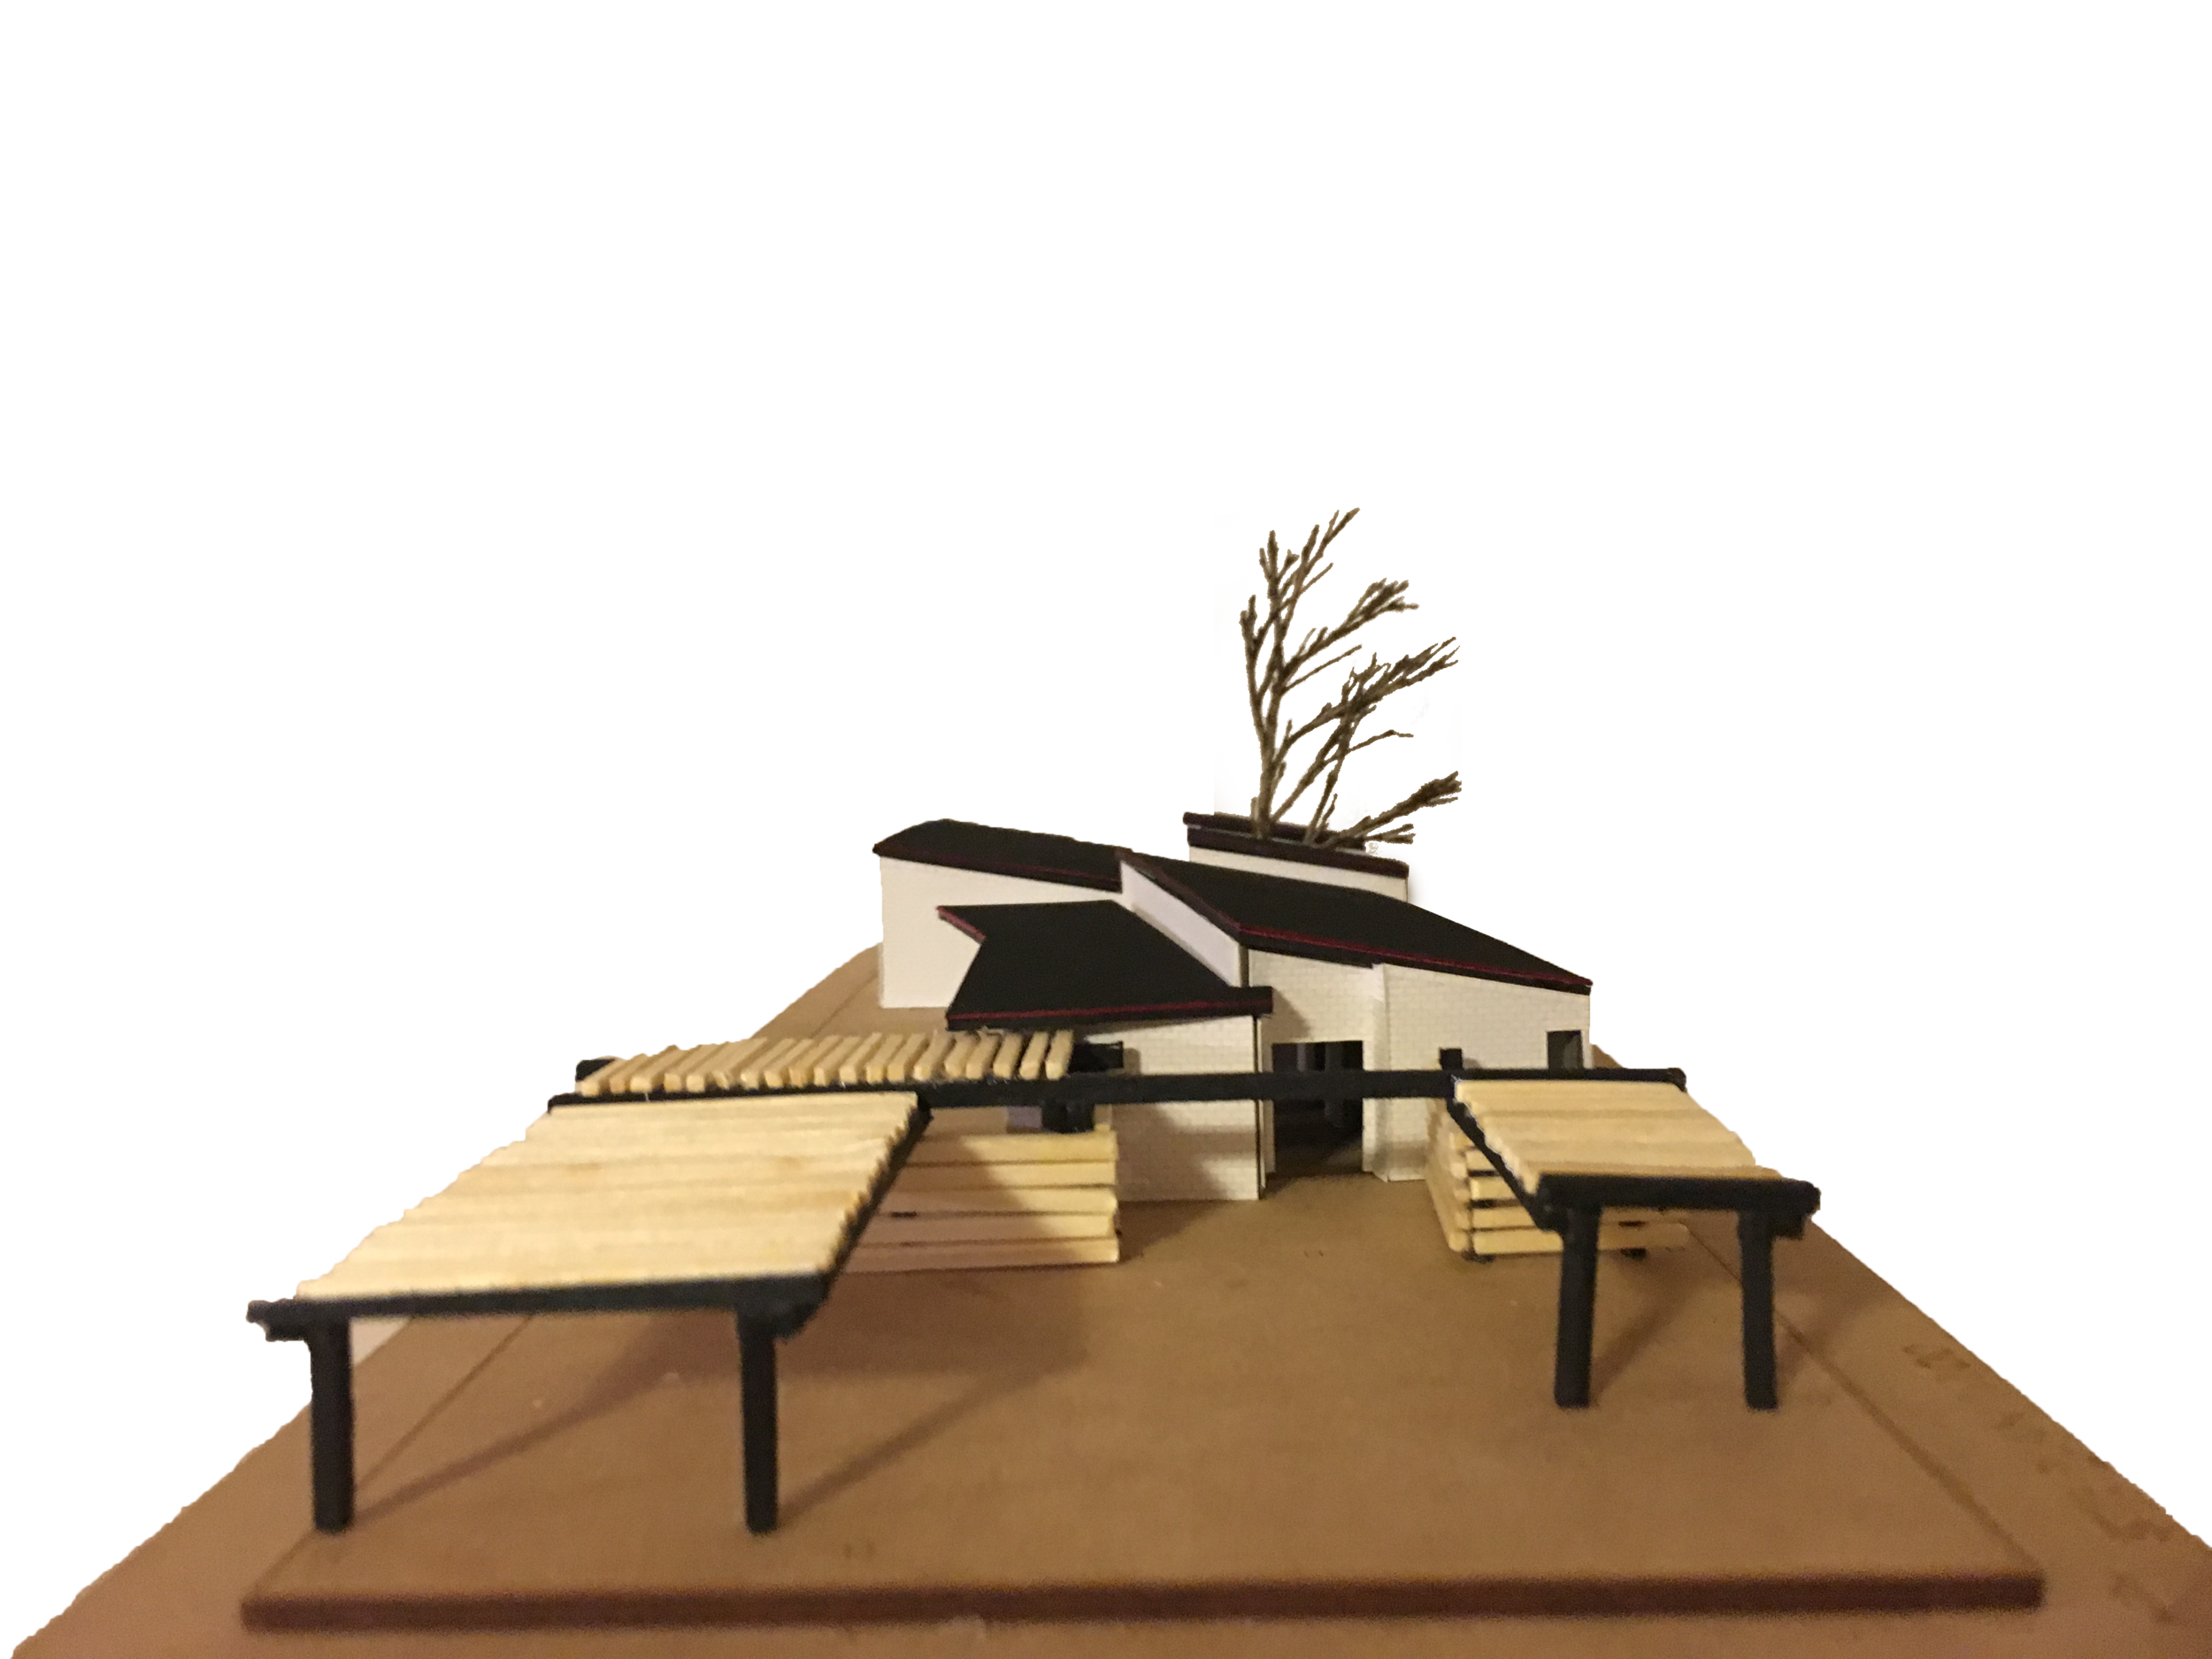
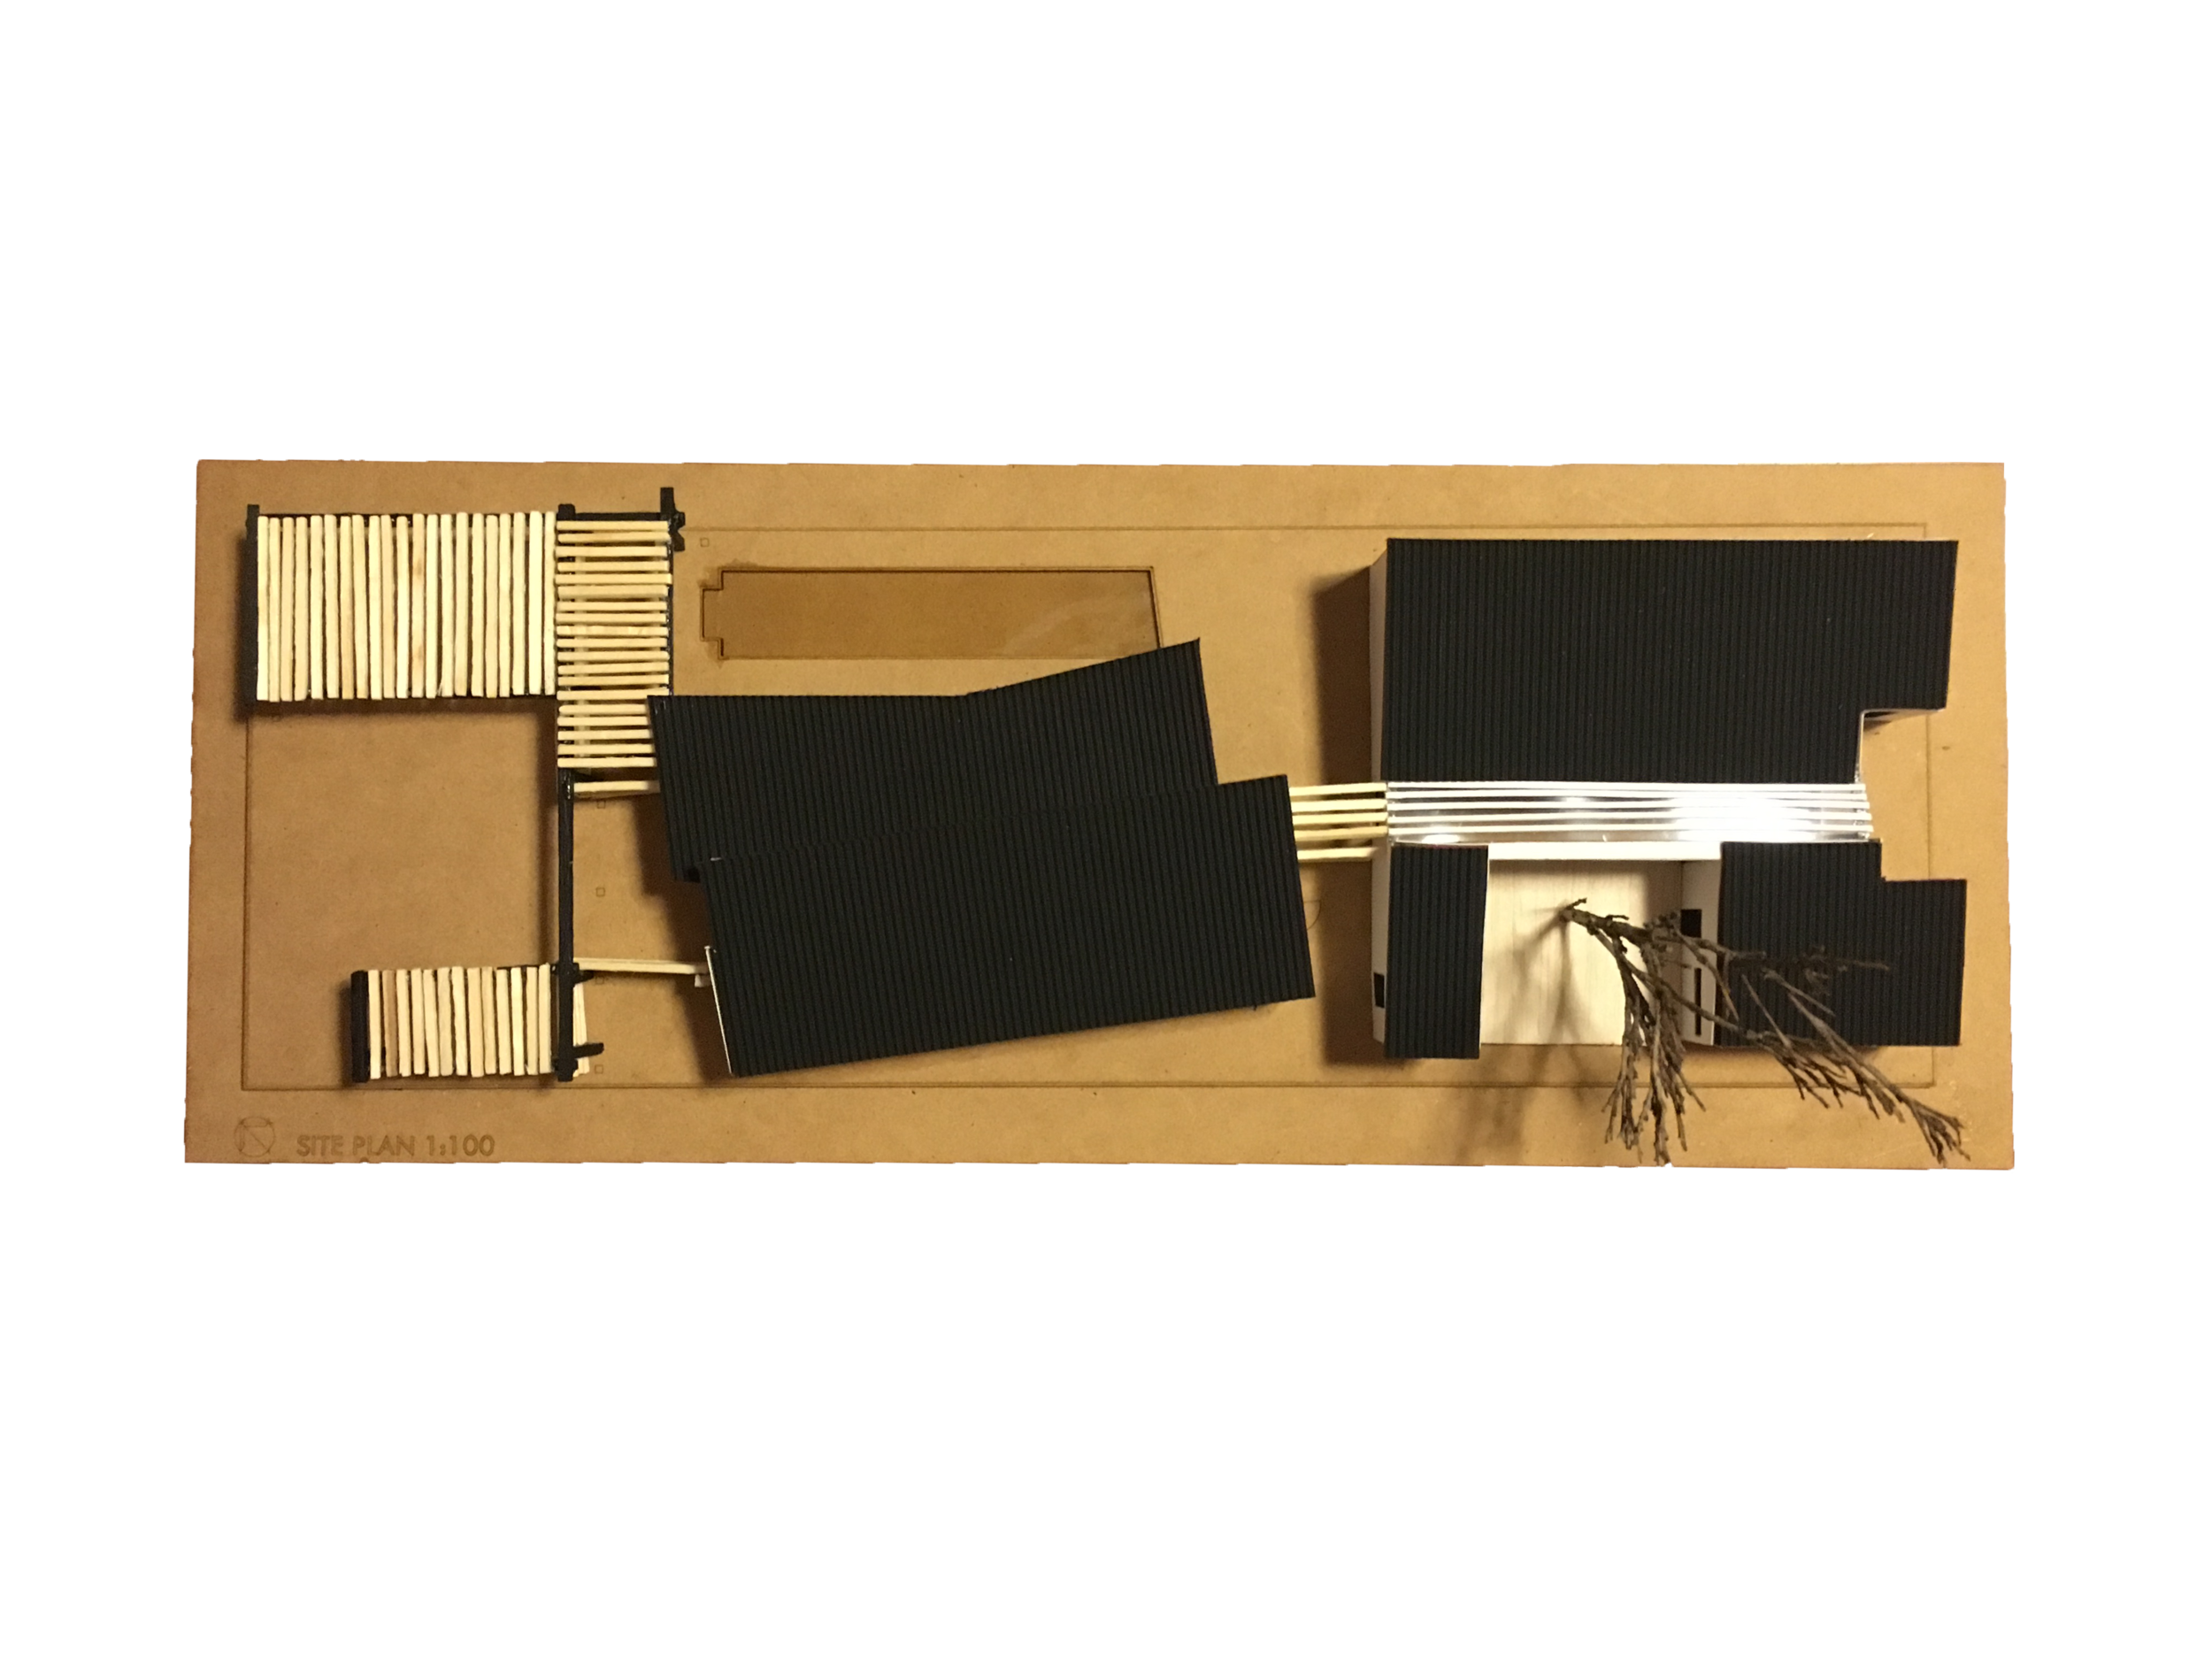
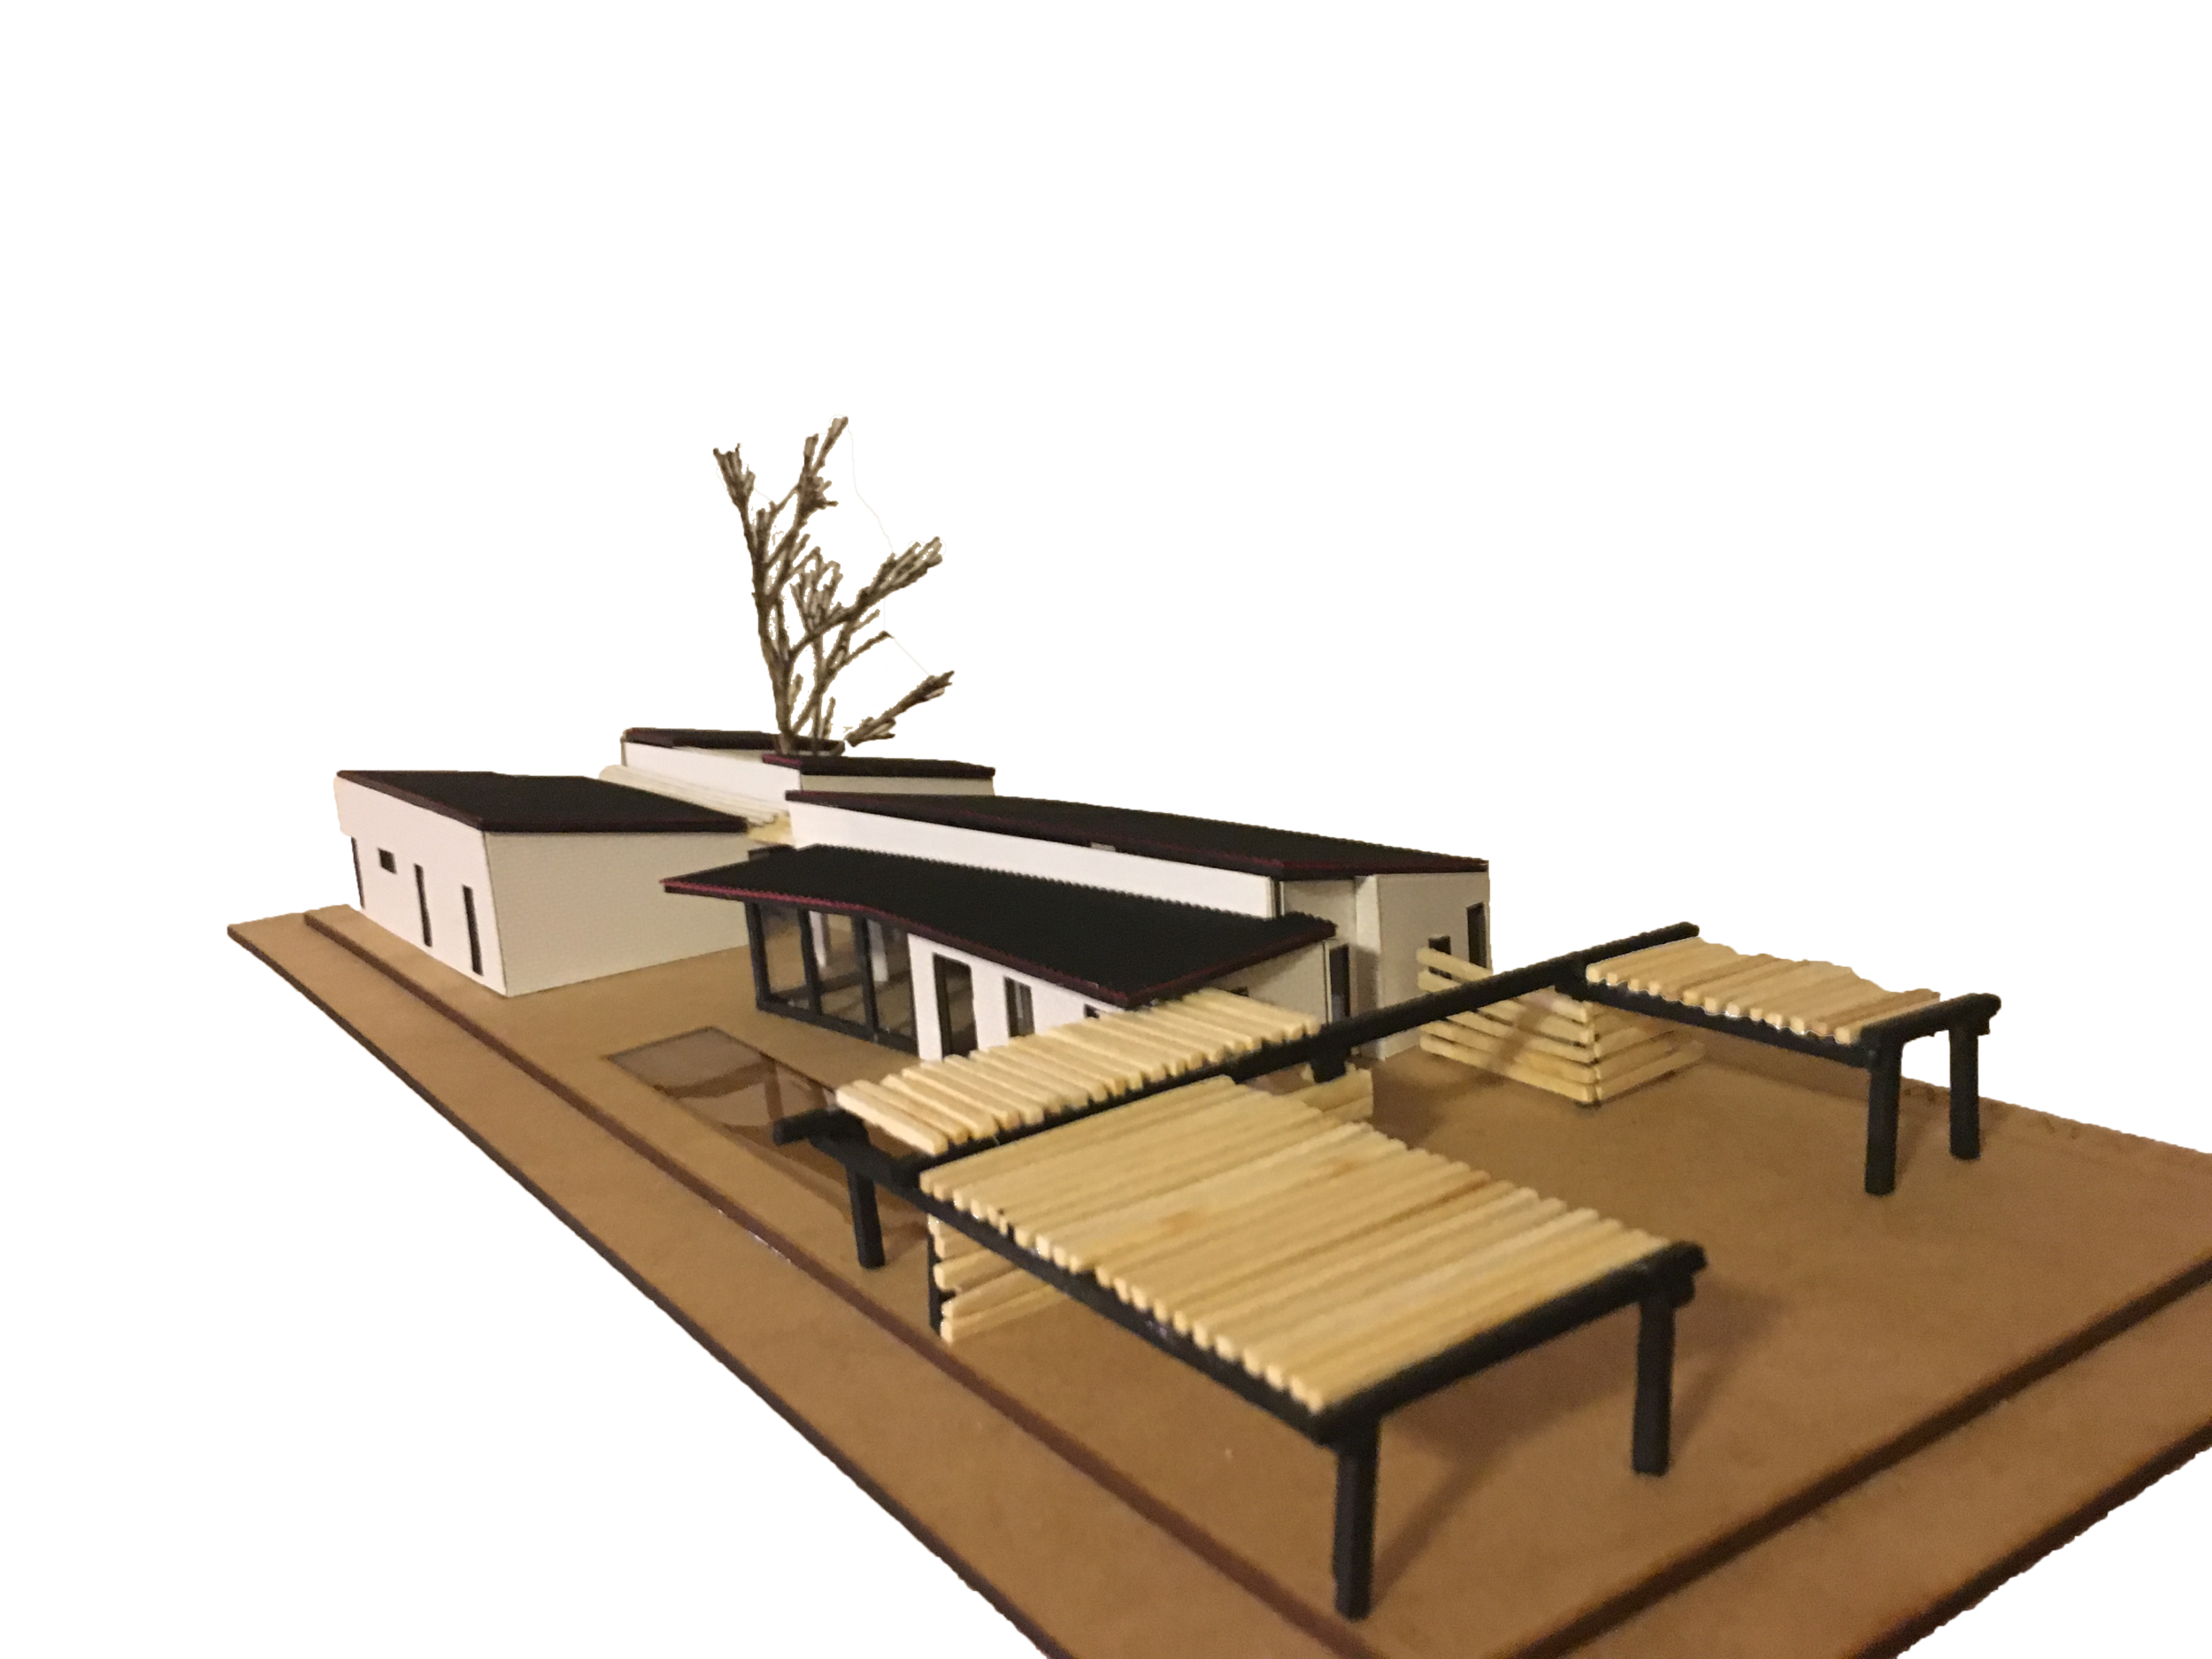
BOOM House Hand Model 1:100
This 1:100 model was made as part of the final design component of my BOOMHouse Design Studio. I used a laser cutting process to produce the site base and wall elements and then manually assembled the pieces together to form the final product. The materials used were:
1.8mm Boxboard
3.0mm MDF
1.0mm Toothpicks
2.7mm Luan Plywood
Brick textured paper
Corrugated sheet
Black spray paint
PVA glue
Stanley knife
Resin
A twig
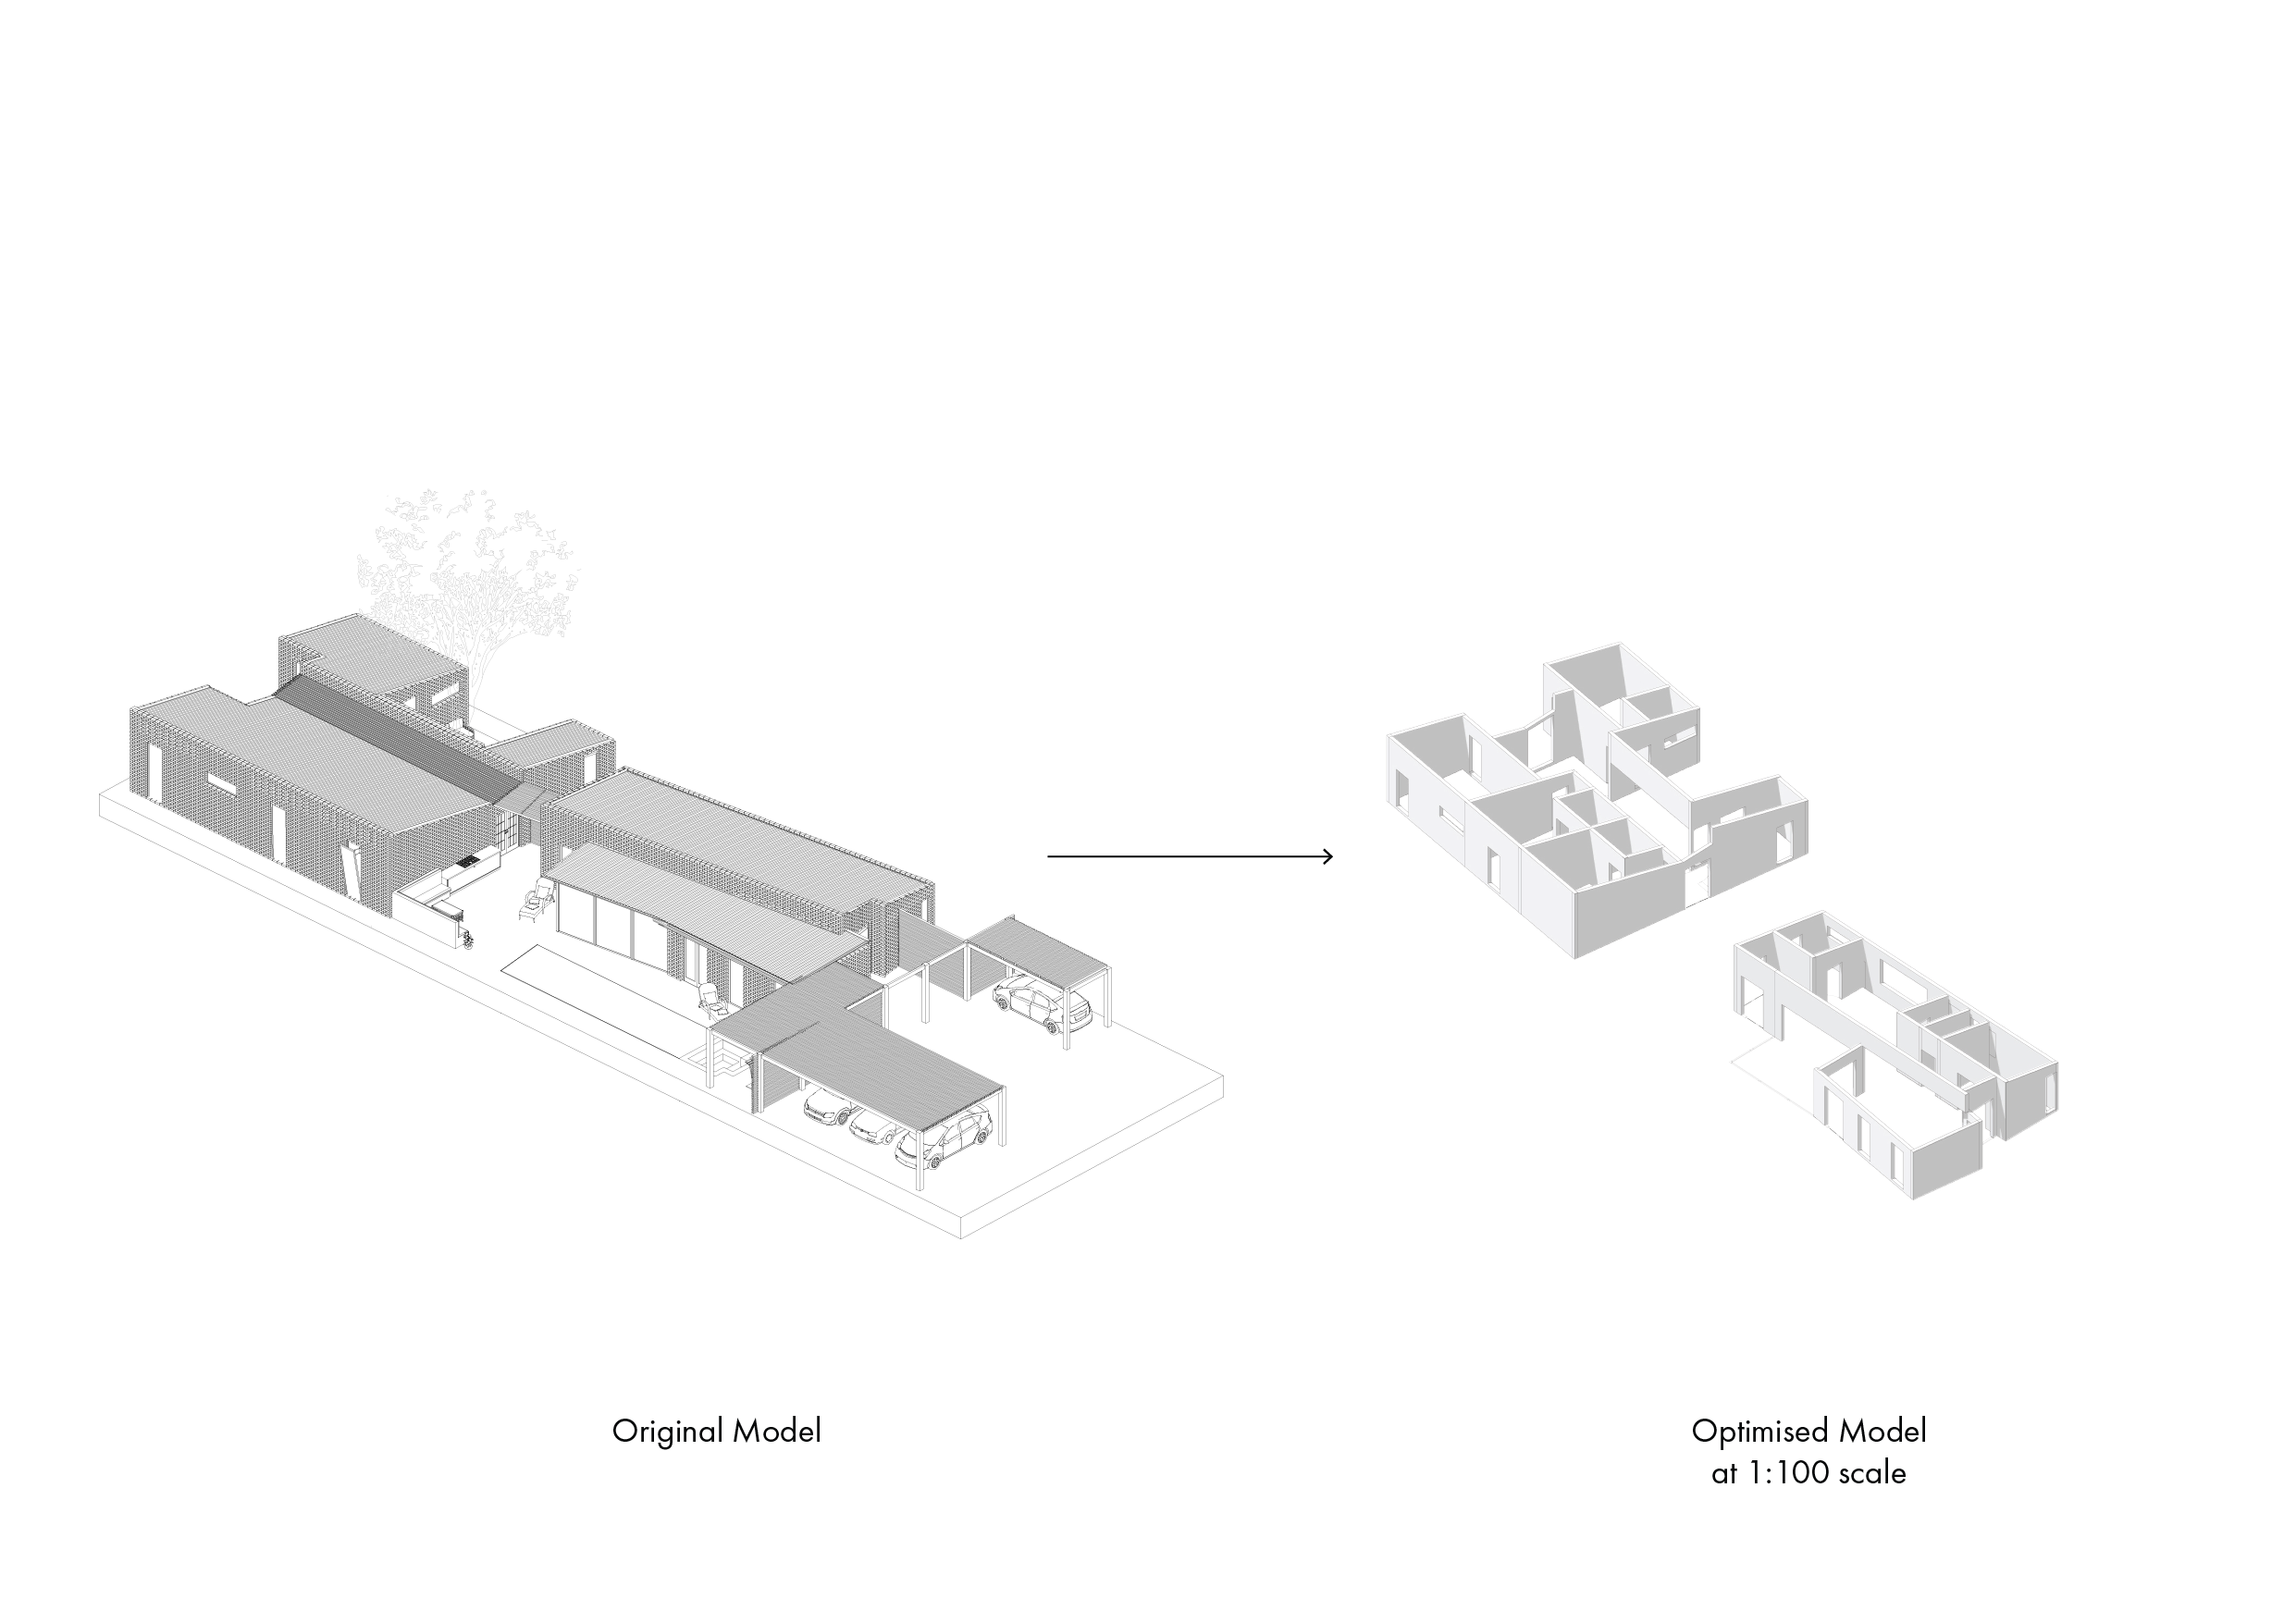
The process of producing laser cut pieces for a physical model began with optimising the 3D model. Each wall of the house was given an identification, and was then elevated separately and given a 3 dimensional thickness of 1.8mm (the thickness of the boxboard material which I used for the house).

3D model representation of laser cut pieces

Once the pieces were created, they were then assembled in 3D and trimmed back 1.8mm at junction points to compensate for the thickness that occurred when the walls would meet. The final pieces were then assembled most economically on a 900 x 600 sheet of boxboard. This is important because you pay not only for materials but also for the time it takes to laser cut your pieces, therefore aligning two edges together so that they are only cut “once” will reduce cutting down time by approximately half, and aligning to the edge of the sheet margin will ensure minimal material wastage.


The site pieces were much easier to prepare. I used a 600 x 600 sheet of MDF to create two layers to the site. The top layer had the outline of the walls, columns and tree location etched in, along with a cutout for the pool; whilst the bottom layer served as the base with the title and scale etched in to the margin.

600 x 600mm MDF Sheet
The rest of the model making process was made relatively easy. I used the template I had created from each wall elevation to create an external brick finish which I cut out by hand and stuck directly onto the boxboard. Because I had etched the linework into the site, and used identification tags to reference for the walls, it was very easy to then place the walls where they needed to go. The 1.8mm offset I had used at junctions ensured the walls were all perfect in length and met up nicely.
I used the site plan to measure out the roof pieces and then cut out them with a Stanley knife, making sure to use a steel ruler so I could maintain a straight line whilst also protecting my materials and myself from the sharp blade. The only corrugated paper I could find was a maroon colour so I spray painted it in black to achieve the colour I wanted. Once dry, I cut it out pieces to match the size of the boxboard roof pieces and applied the corrugated roof sheeting material with PVA.
The decking out the back was made out of a bit of luan plywood I had left over. Due to it being a very soft material, it was very easy to cut down to a nice snug size that fit perfectly into he recess. I created a small incision in the plywood to allow the twig (representing the tree) to sit in and fixed it with glue.
The carport screening and the small outdoor canopy crossover to the second half of the house was made using tooth picks. I spray painted a few tooth picks again to create a black steel “frame” for the carport which I then assembled by hand. Once dry, I then cut down the remaining tooth picks and aligned them as a screen and fixed them to the frame.